
MetaMask offers a web and mobile cryptocurrency wallet for free. It has more than 10 million users. MetaMask, which was created in 2016, supports the Ethereum network. This allows users to store, swap, trade, and even play crypto-based games.
MetaMask was created to create an interoperable, interconnected Web3 ecosystem. It supports the whole EVM (Ethereum virtual machines) ecosystem via Binance Smart chain (BSC), and other networks such as Fantom Cronos, Polygon and Avalanche.
Avalanche Network is an open-source platform that allows financial primitives to be decentralized and secures them. Avalanche is capable of handling over 4500 transactions per second thanks to the different types of blockchain, which include the Exchange Chain, X-Chain, for trading assets and contracts, as well as the Contract Chain, C-Chain, for contracts and the Platform Chain, P-Chain, for validating AVAX tokens.
By connecting your MetaMask wallet and the Avalanche Network, you can benefit from Avalanche DeFi, which includes its low-cost transactions at high speeds, as well as explore the many exciting uses of AVAX tokens.
If you’re already using the Avalanche network, note that MetaMask only works with the C-Chain wallet. Your tokens should be stored in your CChain wallet to send AVAX directly from your Avalanche account. MetaMask allows you to transfer AVAX tokens via a CCHAIN-integrated exchange wallet such as Binance.
You are interested in adding Avalanche Network as a MetaMask Wallet option?
In this article, you’ll learn how to add Avalanche to MetaMask and how to send AVAX tokens to your MetaMask wallet in a few simple steps.
Let’s get right to it!
How to Add Avalanche to MetaMask (AVAX Network)
Here are some easy steps that will connect MetaMask with Avalanche.
Step 1: Setup and Install MetaMask wallet
If you don’t have a wallet, the first step is downloading and installing MetaMask, which is available as a browser extension for Chrome, Firefox, Brave, and Edge and as a mobile app for Android and iOS. For this article, we’ll focus on MetaMask’s browser version for Chrome.
- Open Chrome. Next, navigate to the Official Website. Metamask website and click on “Download” in the top right corner.
- Navigate to the “Install MetaMask for Chrome” at the bottom of the download page.
Ensure you always use the official website to ensure you’re getting the genuine MetaMask extension.
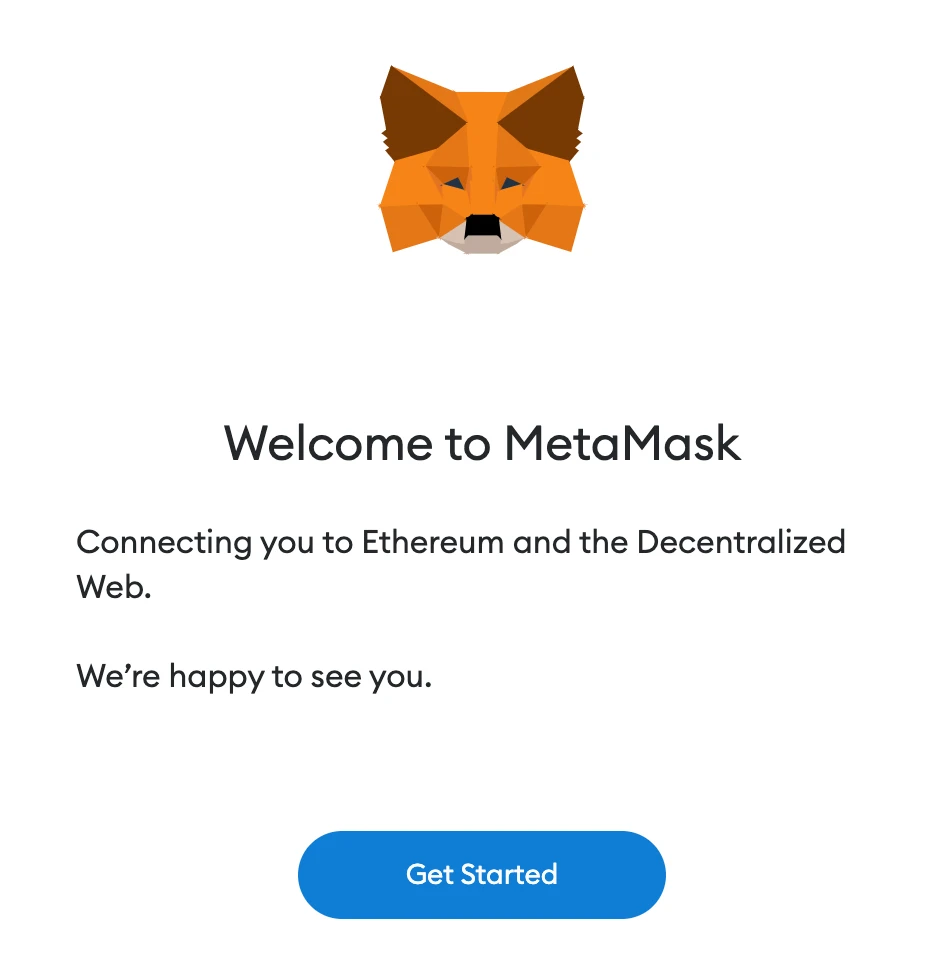
After downloading and installing the extension, click “Get Started” on the MetaMask welcome page.
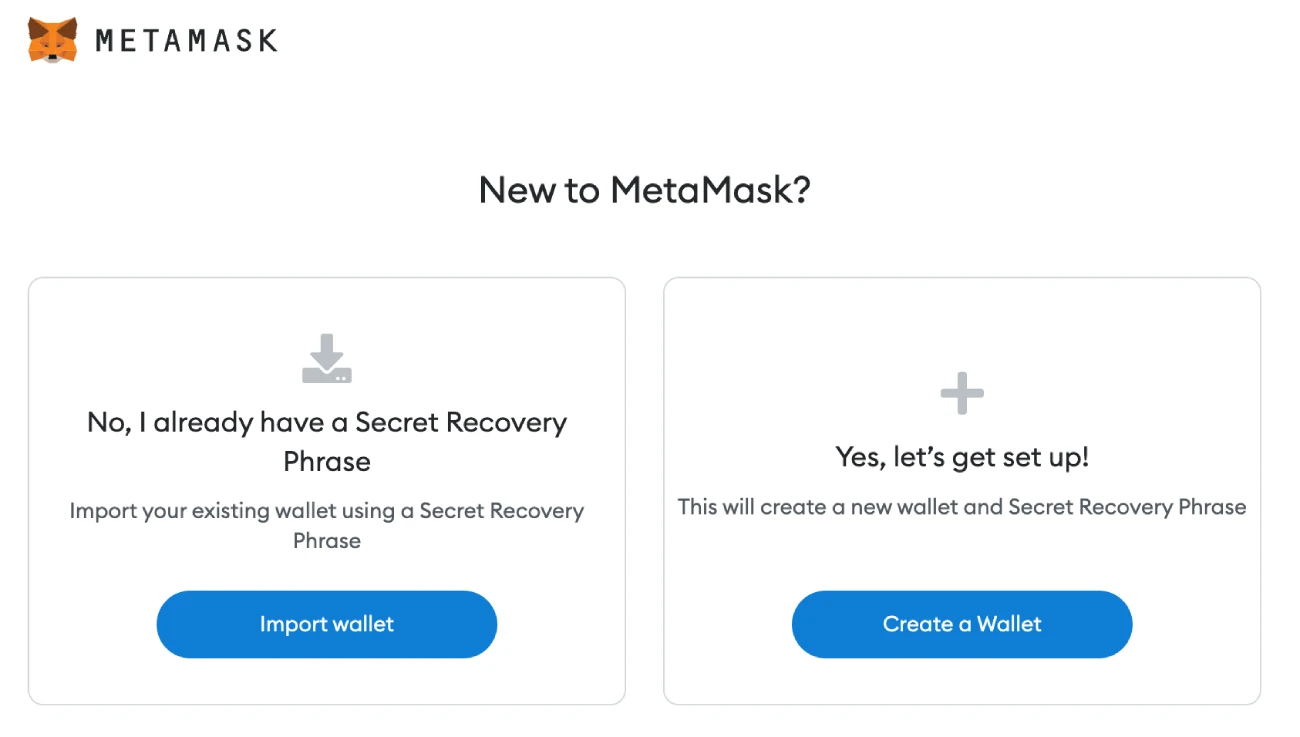
To create a new wallet, click “Create a Wallet” or use the “Import Wallet” option to import an old wallet by entering your private key/seed phrase.
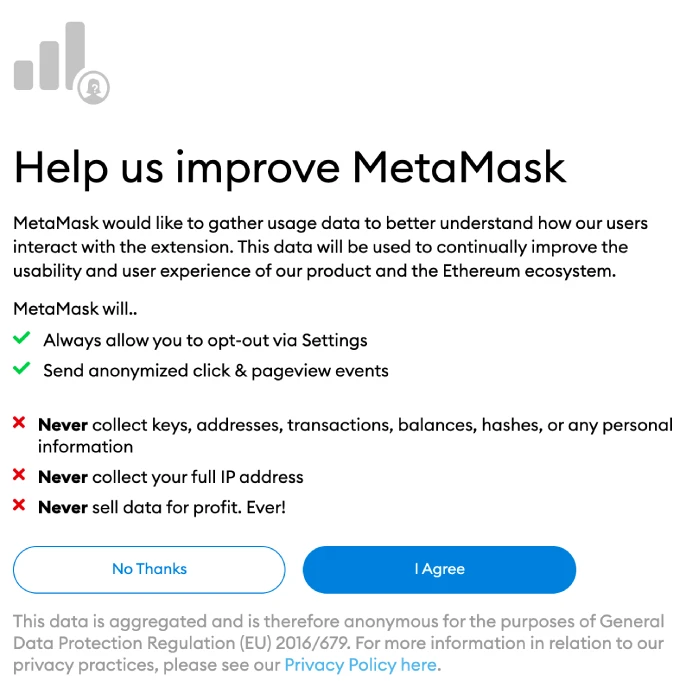
You can accept or deny MetaMask’s suggestion to share anonymous use statistics with them to help develop the addon.
You must set up a password that is secure to log into your wallet via your browser. This will prevent anyone from gaining access to your account. Forgot your password? You can still access crypto using your seed phrase.
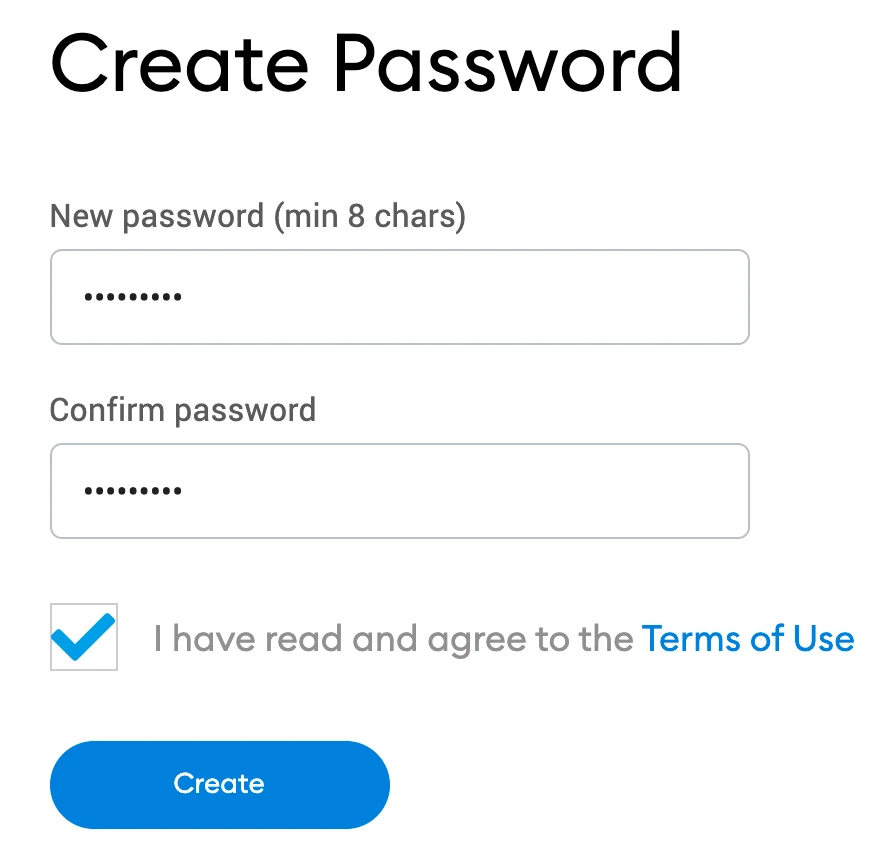
MetaMask will provide information about your wallet’s seed phrase after your password creation.
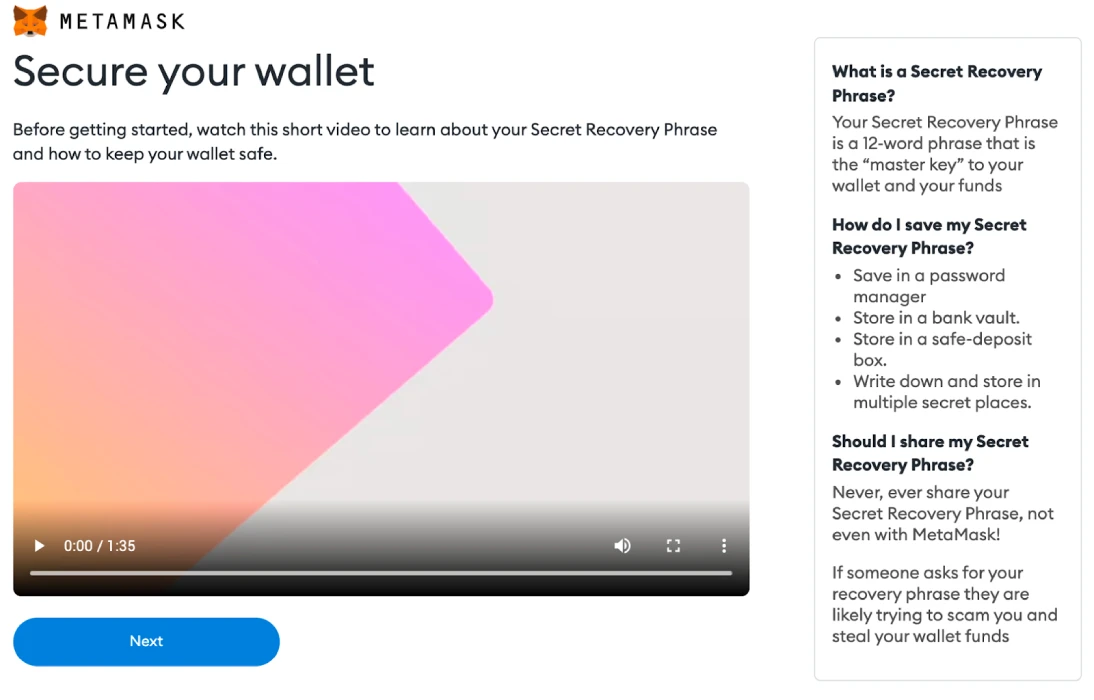
You will see your seed phrase now. To view it, click the lock. Then you can write the sequence. It is important to keep the phrase private and to not reveal it to others. To move forward, click on “Next.”

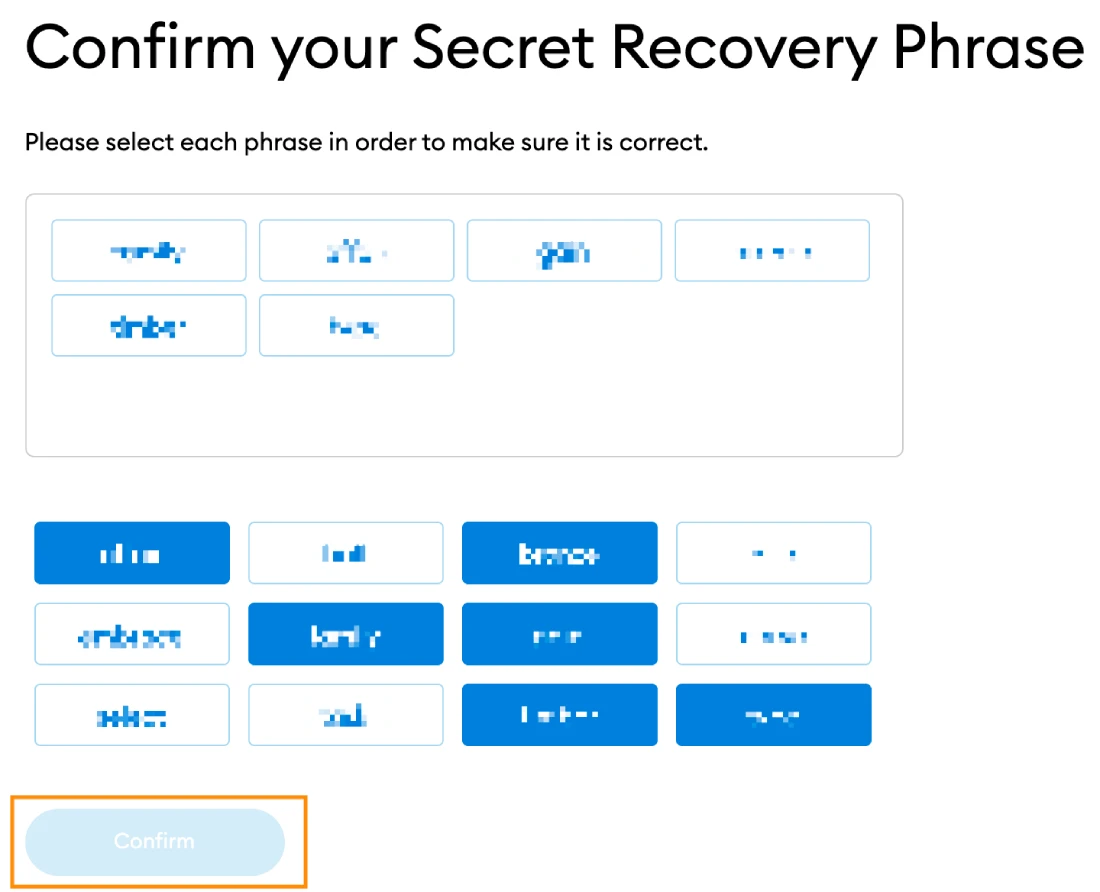
You can repeat the seed phrase by clicking the words at bottom. Once you’ve finished, click “Confirm.”
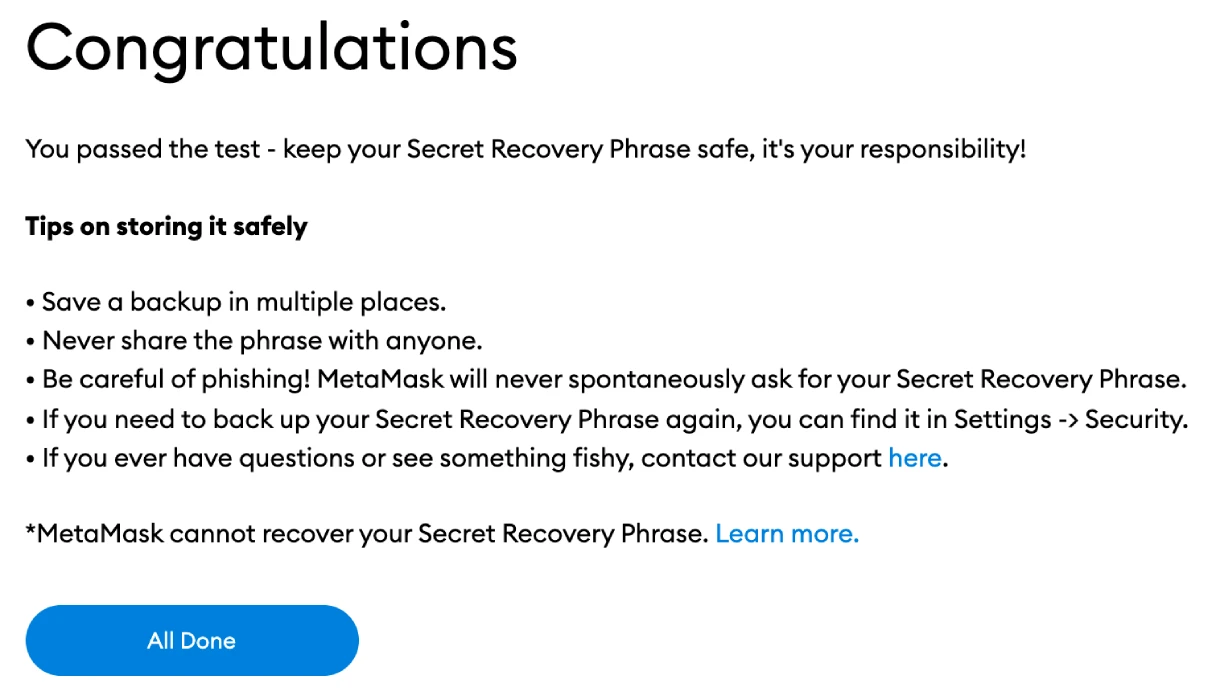
You are now ready to use your MetaMask account. To view your wallet, click on “All Done.”
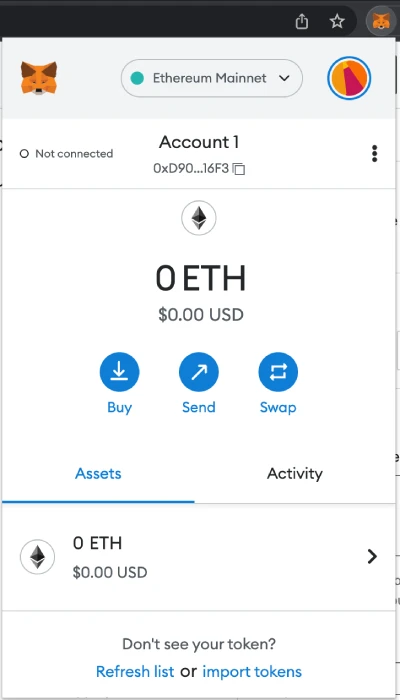
MetaMask will be easy to find by being pin to your Chrome browser. Click the puzzle icon and pin MetaMask the toolbar. MetaMask should be automatically linked to Ethereum Mainnet after initial setup.
Step 2: Wallet configuration
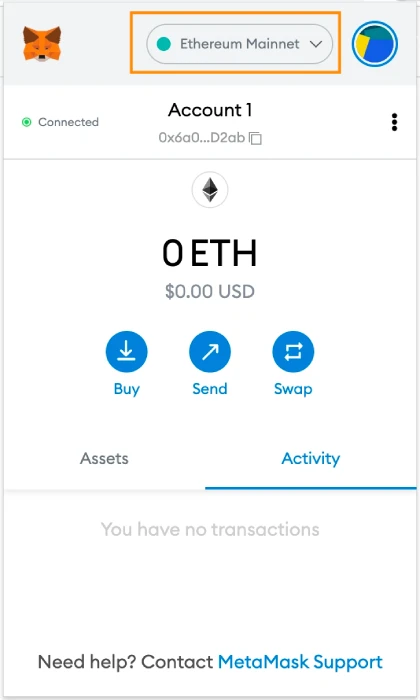
MetaMask is automatically linked to Ethereum’s mainnet. You will need to enter the network information of Avalanche in order to add it to your wallet.
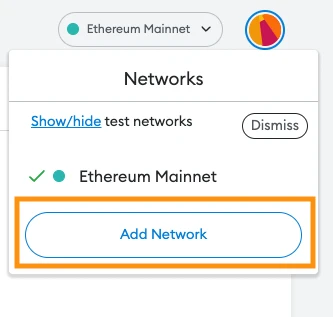
Start MetaMask, and choose the network option in the dropdown menu.
Click on “Add Network” to add the Avalanche Network.
Step #3: Add Avalanche Network
Once you click on Add Network, another window will open that allows to enter your new network details.
Copy and paste this information into the Settings tab:
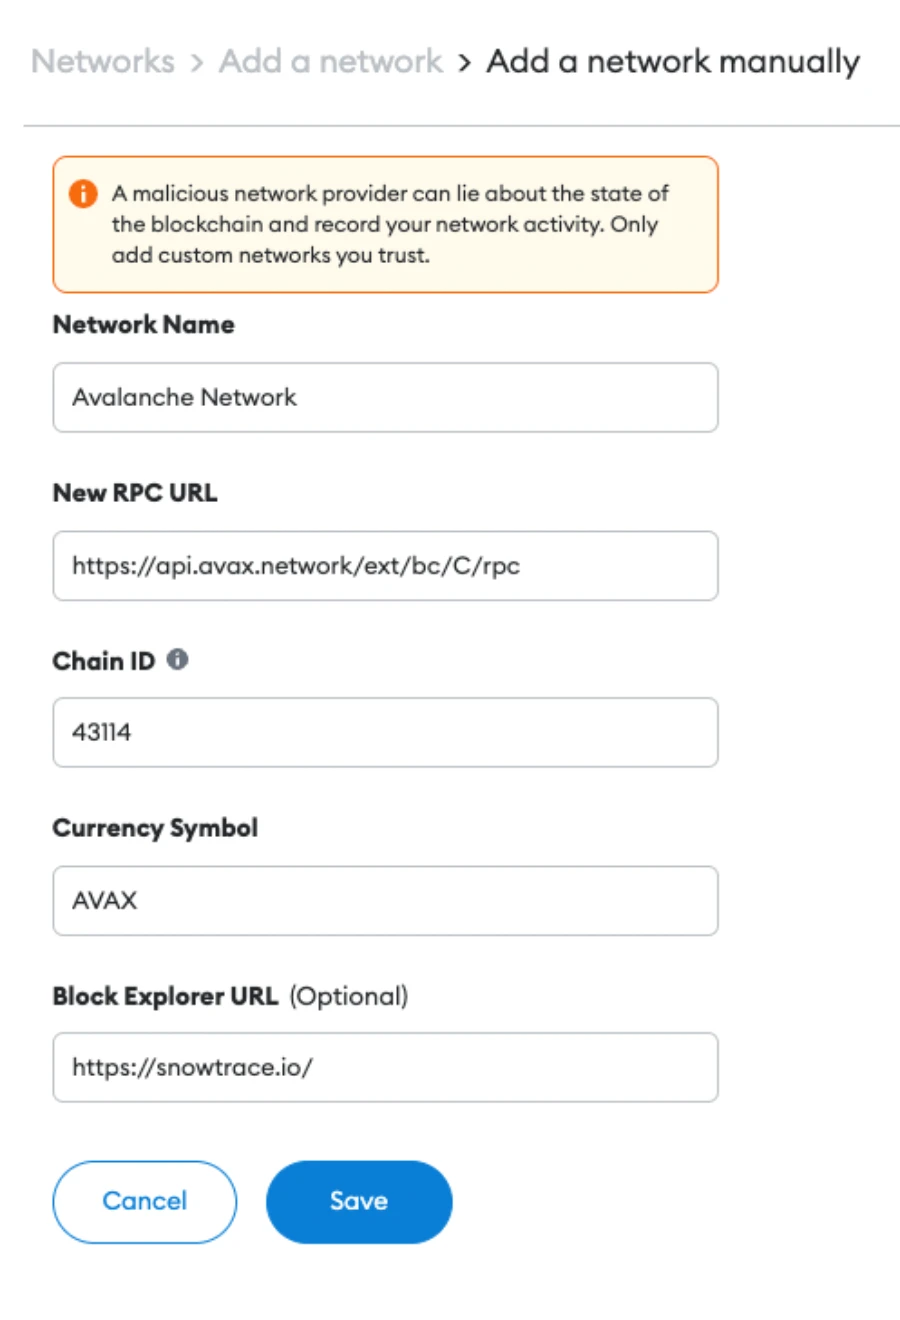
After entering the above information, click “Save,” and the Avalanche Network will connect to your MetaMask. The Avalanche Network has now created a secure connection.
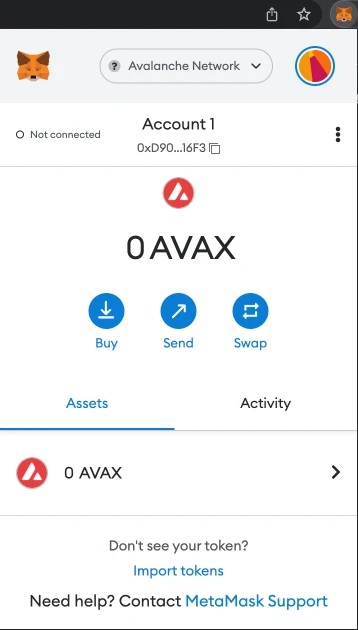
You can confirm your successful addition of the Avalanche Network by going to MetaMask.
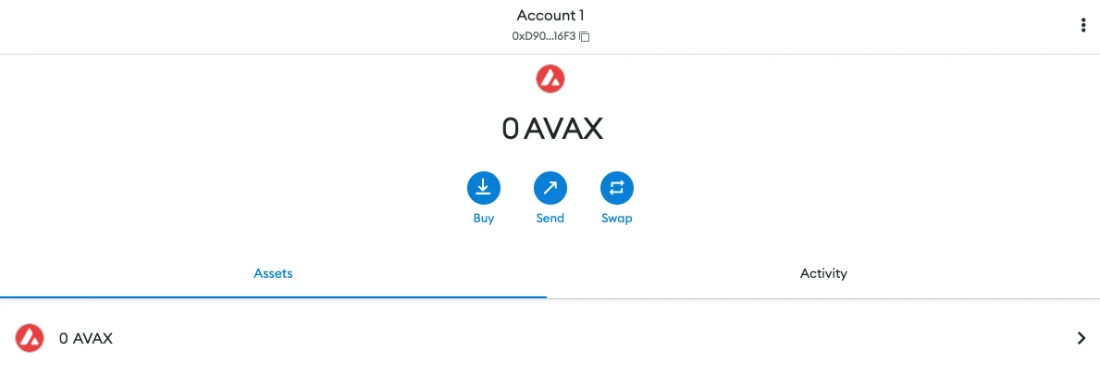
You will see the AVAX icon next to your MetaMask balance.
If you can see the “Avalanche Mainnet C-Chain” on the network selection dropdown menu, you’ve successfully added it to MetaMask.
MetaMask: Send AVAX tokens
Once you have established a connection with the Avalanche network and received Avalanche tokens (AVAX), you can transfer them from an Avalanche wallet directly to MetaMask.
You can send AVAX only to your MetaMask wallet using a C-Chain wallet, as we have already mentioned.
You should be cautious. Choose the right chain and you could end up losing tokens.
- Register to access your account The Avalanche wallet and check the “Balance” box at the top to see where your AVAX tokens are.
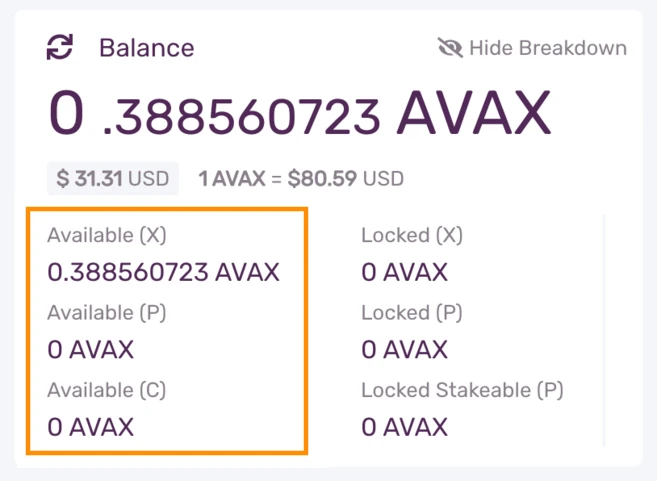
AVAX tokens that you hold in your wallet X-Chain must be moved to your wallet C-Chain before they can be sent to MetaMask.
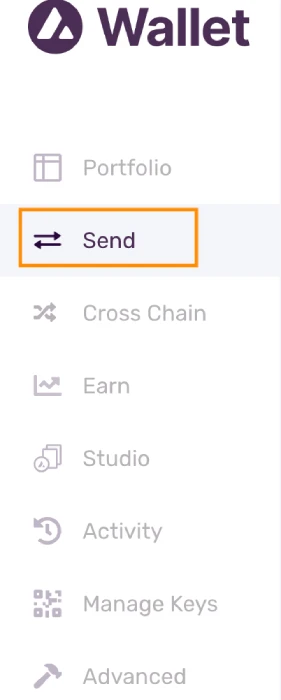
Go to the left menu bar and click on “Cross Chain.”
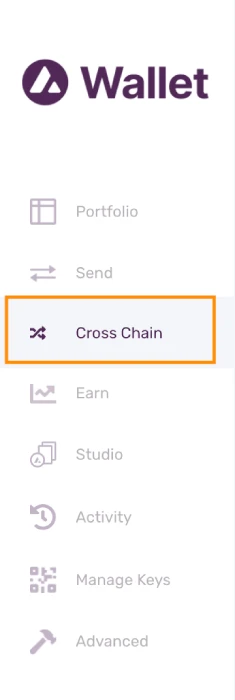
Choose ‘C-Chain’ as the destination chain, input the amount you want to transfer from your X-Chain wallet, and press “Confirm.”
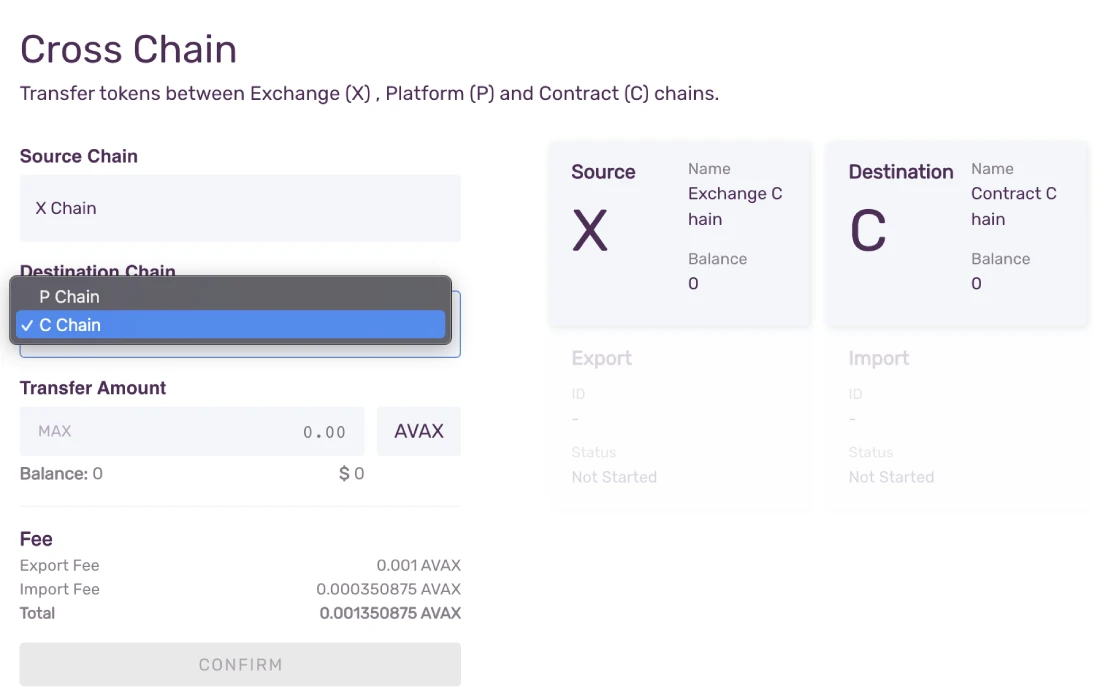
Note:There is a transaction fee.
Head back to the left menu bar and select “Send.”
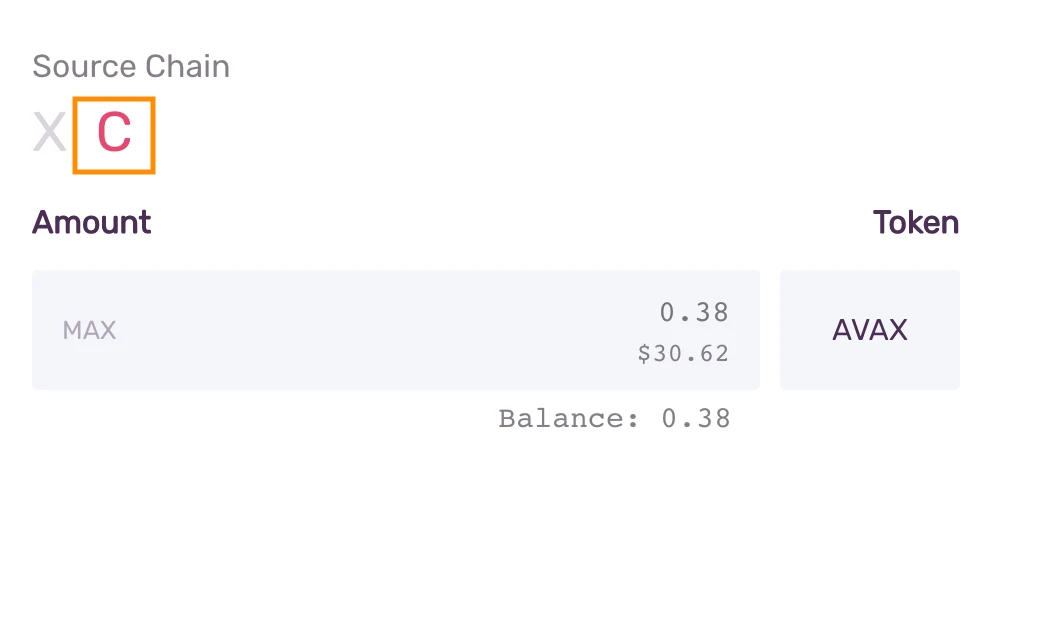
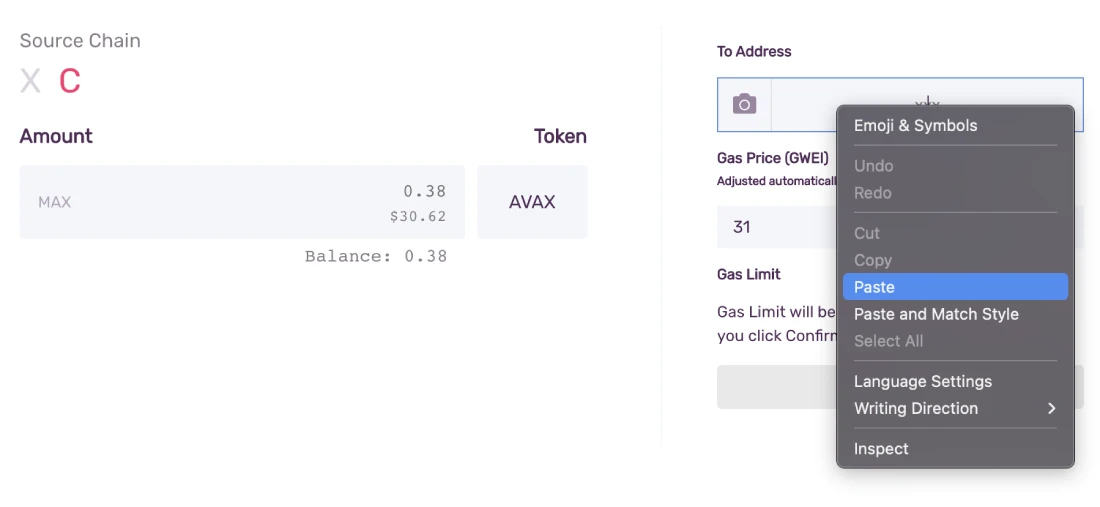
Choose ‘C’ for the source chain and enter the amount you want to send to MetaMask.
Copy your MetaMask Address to your MetaMask account.
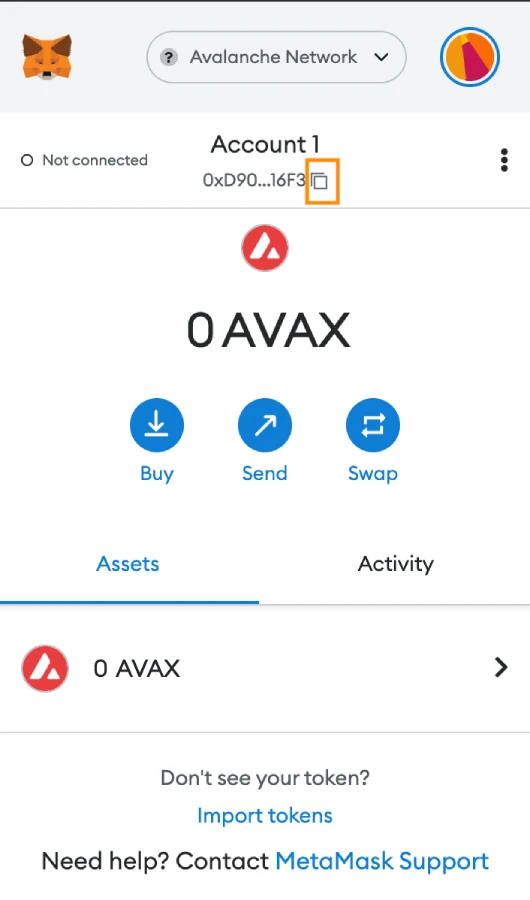
Return to your Avalanche wallet and paste your MetaMask wallet address in the “To Address” column. Check the gas fee and click “Confirm” to proceed with the transfer. Once the transaction has been verified, you will see the AVAX in your MetaMask account.
You will need an exchange account to purchase AVAX.
Closing Thoughts
MetaMask not only supports the Ethereum Network or Avalanche, but the entire Ethereum Virtual Machines (EVM) ecosystem. By following our instructions, you’re now ready to connect more chains and start exploring various DeFi platforms and DApps.
Our guide to connecting Avalanche and MetaMask will help you understand the basic steps required to link Avalanche and MetaMask.
You’re welcome to visit our CoinStats blogDiscover a deeper understanding of decentralized finance, and the ways it empowers people.
Also, you can read some of our articles like What exactly is deFi?Explore our detailed buying guides for various cryptocurrency, including Avalanche: How to Buy (AVAX) How to Purchase CryptocurrencyLearn more Exchanges and wallets, portfolio trackers, etc.
Information about InvestmentsCoinStats’ content does not constitute financial, legal, or investment advice. You rely on the content solely at you own risk. Before you rely on our content, it is important to do your research.